BROW SHAPING
STEP 1: BEGINNING OF THE BROW
Eyebrows should start above the inner corner of the eye. A tad one way or the other doesn’t matter. Sometimes the brow is pulled out or in a little depending on how close or wide set the eyes are.
Eyebrows set too far apart can make the nose look wider and the eyes smaller. Eye brows too close together can have a negative effect of creating an angry like expression.
Check out Aussie blogger Lady Melbourne do her step by step brow look using the Eye Of Horus Cosmetics Brow Range here.

STEP 2: ARCH OF THE BROW
The break of the eyebrow arch should be in the area above the outer edge of the iris while focusing straight ahead. This will be a little short of two thirds. Line a pencil from the outer edge of the nose going up along the outside of the iris and breaking where the pencil hits.
The shape of the brow and the entire arch should be seen from the front of the face. The head should not have to be rotated to see the whole brow. The last half inch may start disappearing from the frontal view, but not an inch or more. The best look for the arch is almost two thirds. Factors that affect the need to move it in or out a little bit include brow size and shape, sharp or smooth arch, face size, and face shape.

STEP 3: ENDING OF THE BROW
The end of the brow is marked by placing a pencil from the center of the lip traveling up along the edge of the outer eye. The mark is made on the inside of the pencil. Variations in face length, face width, eye length, and how close or wide set the eyes are may necessitate moving this mark in or out a fourth of an inch. The ending tip of the eyebrow should be at the same level as the beginning.

~ BRILLIANT BROW HACKS ~
Tip 1: Brow fade
When filling your brows don’t make them a single, consistent shade from end to end. Eyebrows in their natural state are lighter at the inner corner (where the hairs are thinner) and get darker towards the “tail” end; mirror this with your makeup to avoid a harsh look. You can either apply less product at the inner corner, getting more intense the further out you go, or use two shades—a light color for the inside, and a darker shade for further out—that you blend into one another.
Tip 2: Multi-use products
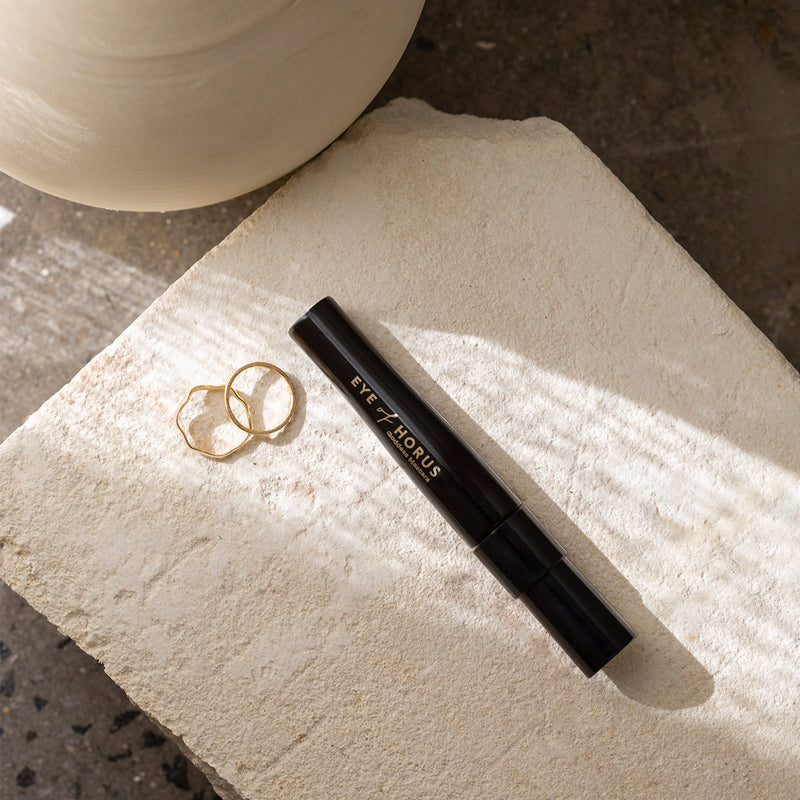
Run out of brow product? You probably have other product in your makeup case which can save you! Use a dark brown mascara such as our Babylon Brown Mascara for a subtle brow tint with a little bit of hold. Or use a brown matte eyeshadow such as our Ma'at Shadow Palette for a great brow filler. And if you’re looking to hide bare patches caused by overplucking, use a brown liquid eyeliner such as our Babylon Brown Liquid, and draw very small, feathery strokes to fill them in.
Tip 3: Stay cool
You should always choose a cool-toned shade for your eyebrows. Thanks to the oxidizing effects of your skin’s natural oils, eyebrow makeup will almost always become a slightly warmer colour over time.


