

How to Perfect Your Pencil Eyeliner
Pencils are considered the most traditional form of eyeliner and have long been deemed as a beauty staple. But this is no new love affair, with rituals dating back to the Ancient Egyptians, circa 4000 B.C. Although eyeliner is one of the most universally adorned makeup products, it can also be the most daunting to use. That's where we come in. Continue reading to discover the essential products and best practice as well as a step-by-step guide on mastering the art of pencil eyeliner application.

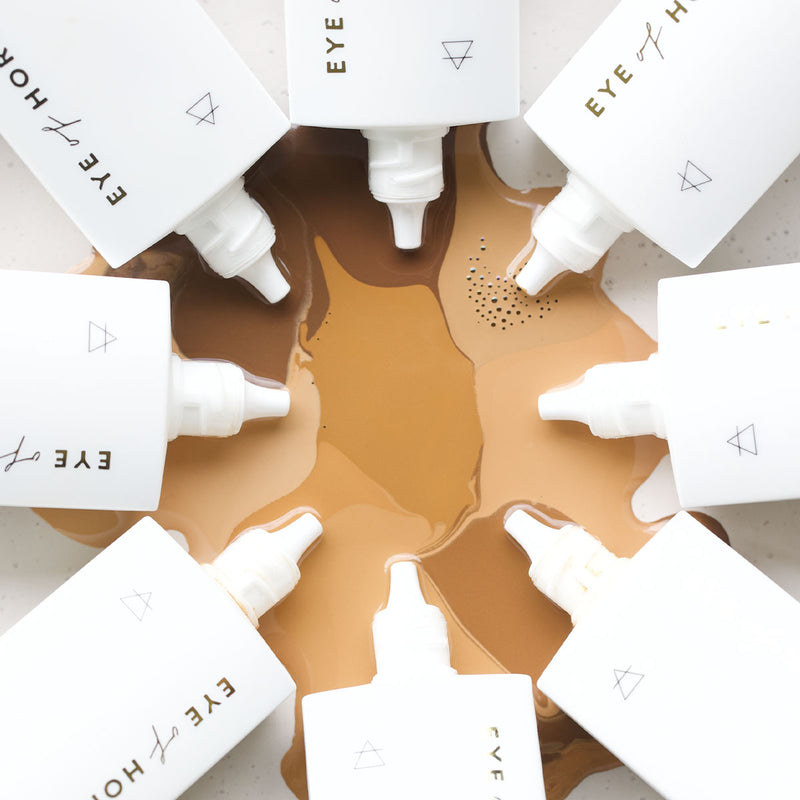
PERFORMANCE PENCILS & TOOLS
The multi-award-winning Goddess Pencil range is the best place to start - because the right products can make all of the difference. We created a collection of creamy, water-resistant pencil liners to deliver long wearing, richly pigmented colour with the added benefits of organic Moringa Oil. This unique, award-winning formulation will glide over the skin with precision and is 100% cruelty-free, ethically sourced and gentle on sensitive eyes.
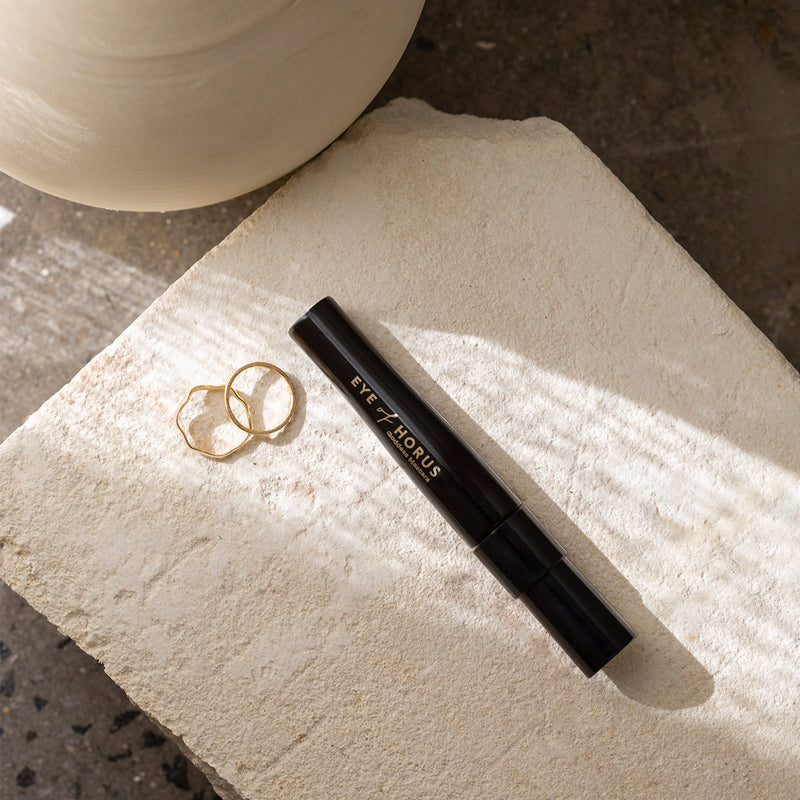
Our new look pencils are crafted from post-consumer-recycled materials, and features a retractable pencil design equipped with a built-in sharpener, ensuring unparalleled precision with every use. Learn how to sharpen your pencils here.
While you may be accustomed to traditional black eye pencils, they can sometimes look a little harsh on fair skin. If you find that's the case, or simply want a more natural look, use a brown pencil, bronze pencil or charcoal pencil to create a more subtle, makeup look.
VIEW ALL SHADES

YOUR STEP BY STEP APPLICATION GUIDE
Now that you know what products you need for optimal performance precision, it's time to get to the fun part - the application process.
1. Position yourself in front of a mirror and rest your elbow on a flat surface if available to steady your hand.

2. Ensure you have a clear view of your upper lash line by tilting your head back slightly and looking down towards the mirror. For ultimate control, pull the skin taut at its outer corner - this will make it easier to apply.

3. Starting from the inner corner and working your way out, draw a series of strokes with the eyeliner. Apply firmer pressure for a more dramatic line.

4. At the halfway point of the line, angle your liner so you're now drawing with the side of it. This will create a thicker line.

5. Next, using your liner, make a small dot where you want your winged eyeliner to end. This will help you connect the two for a perfect flick.

6. Now it’s time to connect the dots—or in this case, the strokes. If you wish to create a smokey pencil liner look, use the smudge-tip applicator on the Goddess Pencil and gently buff using small, dash movements.

7. Lastly, you can complete the look by lining your lower lash line. Starting at the outer corner and moving inward, trace your eyeliner along the exposed area. Continue applying until you’ve achieved the desired intensity. To eliminate harsh lines or create a smokey-liner effect, carefully smudge along your lower lash line using the smudge-tip applicator on the Goddess Pencils.
It’s as simple as that - and remember, practice makes perfect. If you have any questions, reach out to our team of beauty experts via live chat, email or Instagram or Facebook. Remember to tag @eyeofhoruscosmetics #EOHbeauty in your makeup looks for the chance to be featured.