How To Master The Coloured Winged Eyeliner
The classic cat-eye is back in a big way, but this time, with a colourful twist. This winter, eyes are having a major creative moment and it’s all about expressive, uplifting colour, which means it may be time to swap out your black liquid eyeliner and go bright. Don’t worry, it sounds daunting to use a liquid eyeliner and even more in a bright colour, that's where we come in. Continue reading to discover the step-by-step guide on mastering the art of the coloured winged eyeliner.

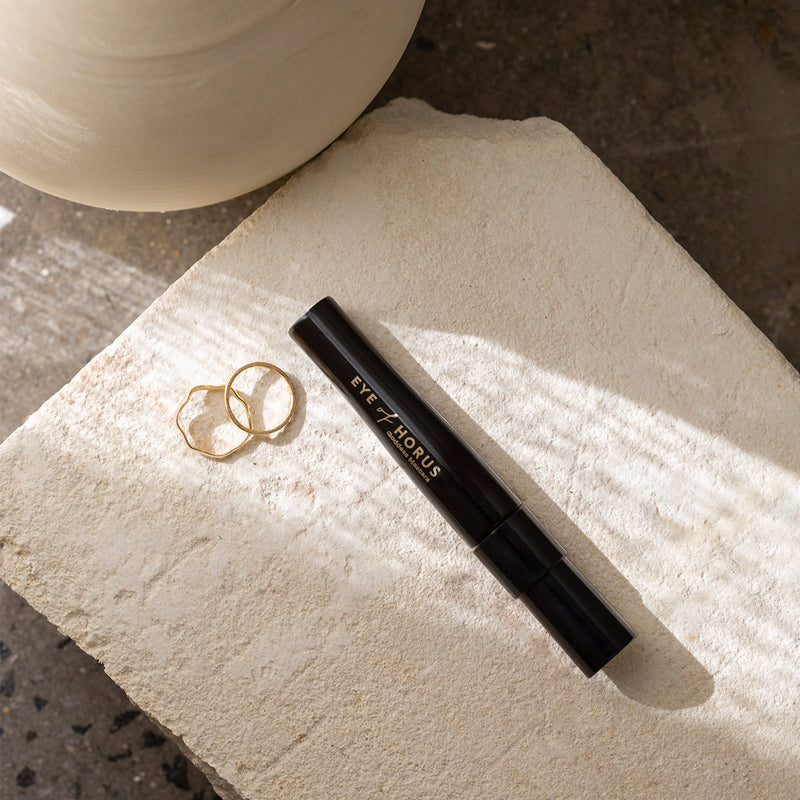
THE TOOLS
To create this look, we used the Goddess Pencil in Jewel Amethyst but you can make this look entirely your own by choosing your preferred Goddess Pencil colour. You can also choose a pencil colour that brightens up and enhances your eye colour.

5 STEPS TO WINGED EYELINER
- Position yourself in front of a mirror and rest your elbow on a flat surface if available to steady your hand.
- Take the pencil and starting from the inner corner and working your way out, draw a series of strokes with the eyeliner. Apply firmer pressure for a more dramatic line.
- At the halfway point of the line, angle your liner so you're now drawing with the side of it. This will create a thicker line.
- Next, using your liner, make a small dot where you want your winged eyeliner to end. This will help you connect the two for a perfect flick.
- Now it’s time to connect the dots—or in this case, the strokes. Fill up the gap until no skin peeps through from between the upper and the bottom line that forms your wing.

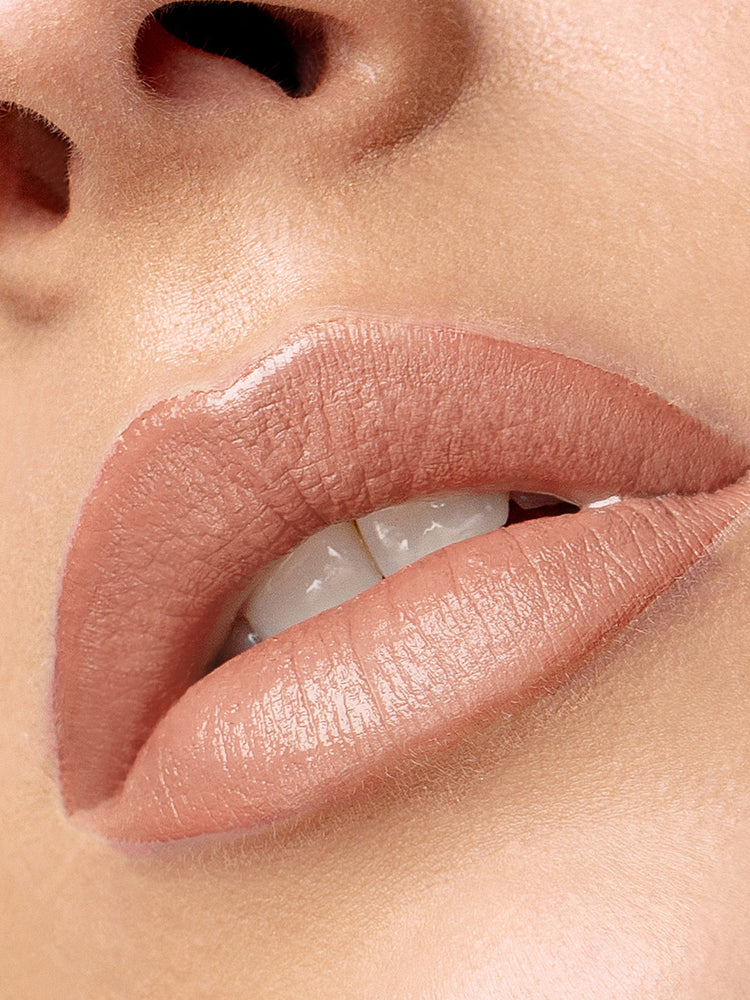
With a coloured eyeliner look like this we like to keep the rest of the look simple. Think glowy skin, natural brows, and nude lips. And remember, practice makes perfect.
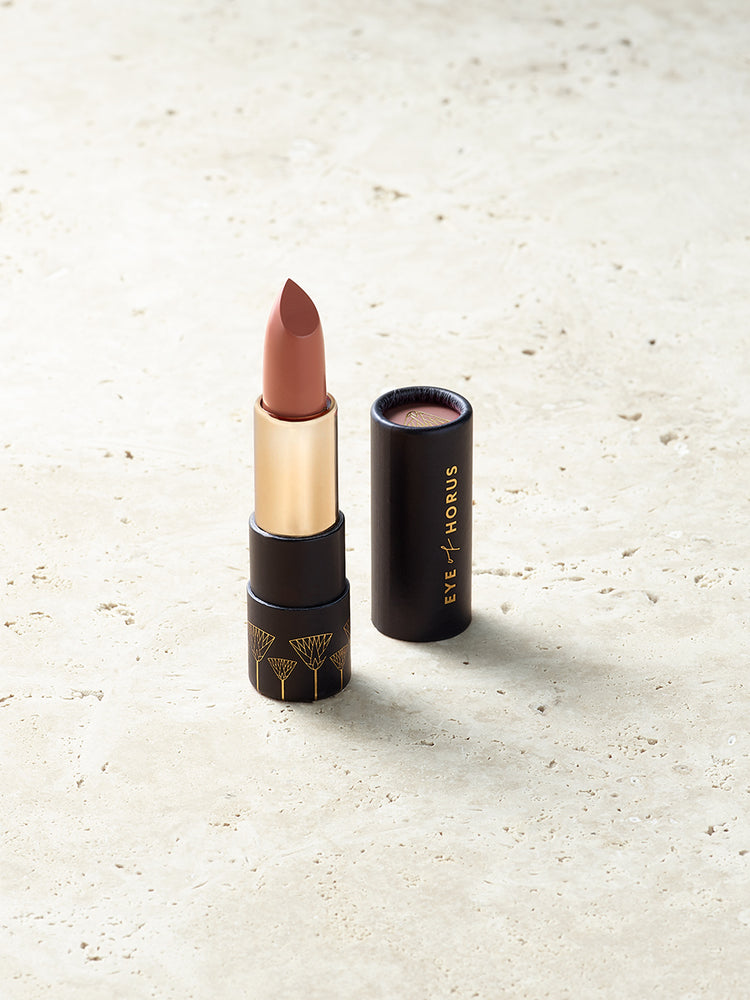
COMPLETE THE LOOK
Be sure to complete your look with your favourite #EOHbeauty essentials.


![]()
![]()