
September 10, 2023
YOUR STEP BY STEP GUIDE TO UNDERPAINTING

Underpainting may be experiencing a revival on social media but this is no new phenomenon. This age-old makeup technique has been harnessed by makeup artists for decades, and for good reason — It enhances your makeup routine with expert-level blending and subtle skin sculpting.
Although underpainting may sound complicated, it’s actually a very simple method that you can easily master on your own. And, chances are, you’re probably doing all the steps already—this one just requires you to switch up the order.
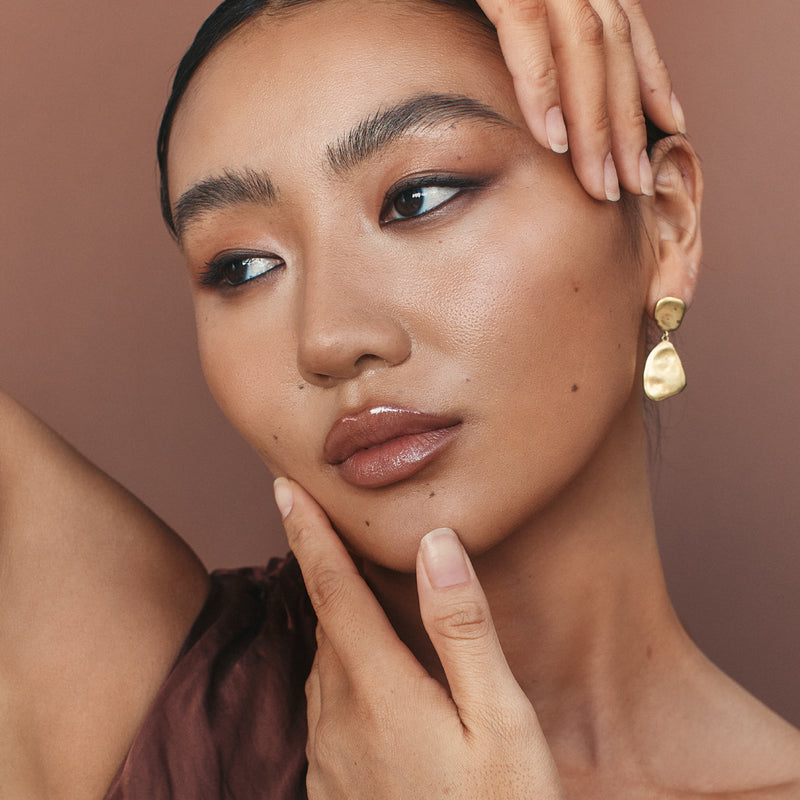
Consider it a way to create dimension on the face before layering on additional and potentially unwanted coverage. You begin with your contour, highlight, and blush colours, then finish with your foundation on top. The reason why this technique works is because it helps to create a seamless blend of makeup that is free of harsh lines and unwanted shadows. What we love about underpainting is that less foundation is needed because the contour and highlighter that you apply pre-foundation add coverage. As a result, your makeup looks fresh, and perfectly blended and your face appears naturally sculpted.
Read on as we share 5 simple steps to underpainting, plus, the only products you’ll need to achieve this makeup technique.

5 SIMPLE STEPS TO UNDERPAINTING
- Begin by prepping the skin with plenty of moisture. Since the contouring colours must be applied directly to the skin first, hydration is key to avoid any unwanted dry or uneven patches. The Seven Seed Sacred Oil provides the perfect base for your complexion products.
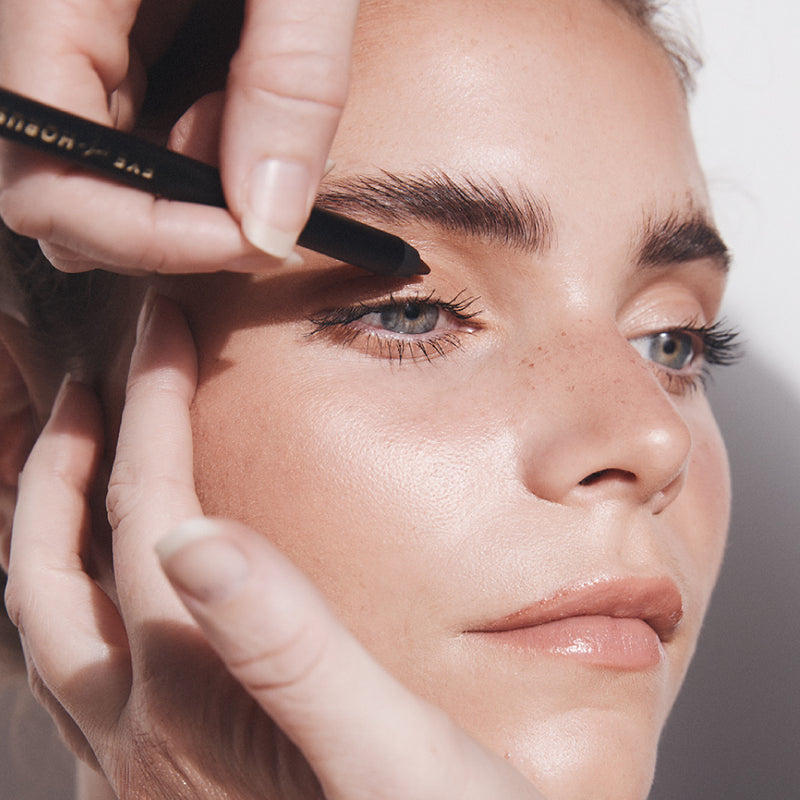
- Then, apply a cream contour (preferably a stick applicator for ease and convenience) to your forehead, cheekbones, and jawline, making sure to blend thoroughly. We suggest using the Ritual Skin Foundation Stick or Triple C Concealer in a shade 2-3 times deeper than your natural complexion.
- Next, you can apply concealer to your under-eyes and any blemishes you wish to conceal. By using a shade 1 to 2 shades lighter than your complexion will help to brighten the eye area. And, don’t worry—since you will be applying foundation on top, the contrast will be less stark.
- If desired, you can also apply blush or highlighter on the top of the cheekbones, in the middle of the forehead, and across the centre of the nose.
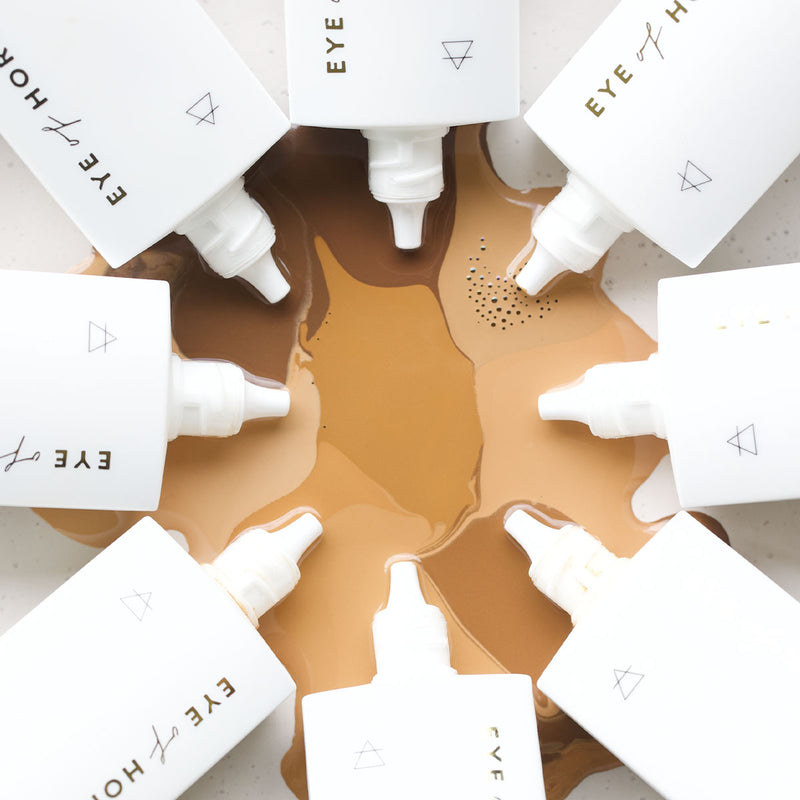
- Lastly, you can finish with a Lightweight Foundation. We recommend staying clear of full-coverage formulas as they may mask all the contour and highlighting that you just did. Instead, opt for a skin tint or a light-coverage liquid foundation, like Skin Tint Serum or Second Skin Foundation.

The beauty of underpainting is that you will notice that the amount of foundation that you need is significantly reduced then when you contour and highlight after the fact. The reason being is that concealer or contour and highlighter add additional coverage, meaning you’ll need less foundation to even out your skin tone.
Use the Buffing Brush or a makeup sponge to lightly dab the foundation on your skin, blending it with the contour and highlighter to create a flawless finish. Using a stippling motion will help to avoid mixing the contour and foundation together. Ensure that the foundation is applied lightly so the underlying colours can peek through.
For any questions or advice on which products are best suited to you, reach out to the team over email, Instagram or live chat. We also offer complimentary beauty consultations instore and online with Eye of Horus beauty experts. Learn more about our Beauty Consultations here.
image credit: @maxmade